

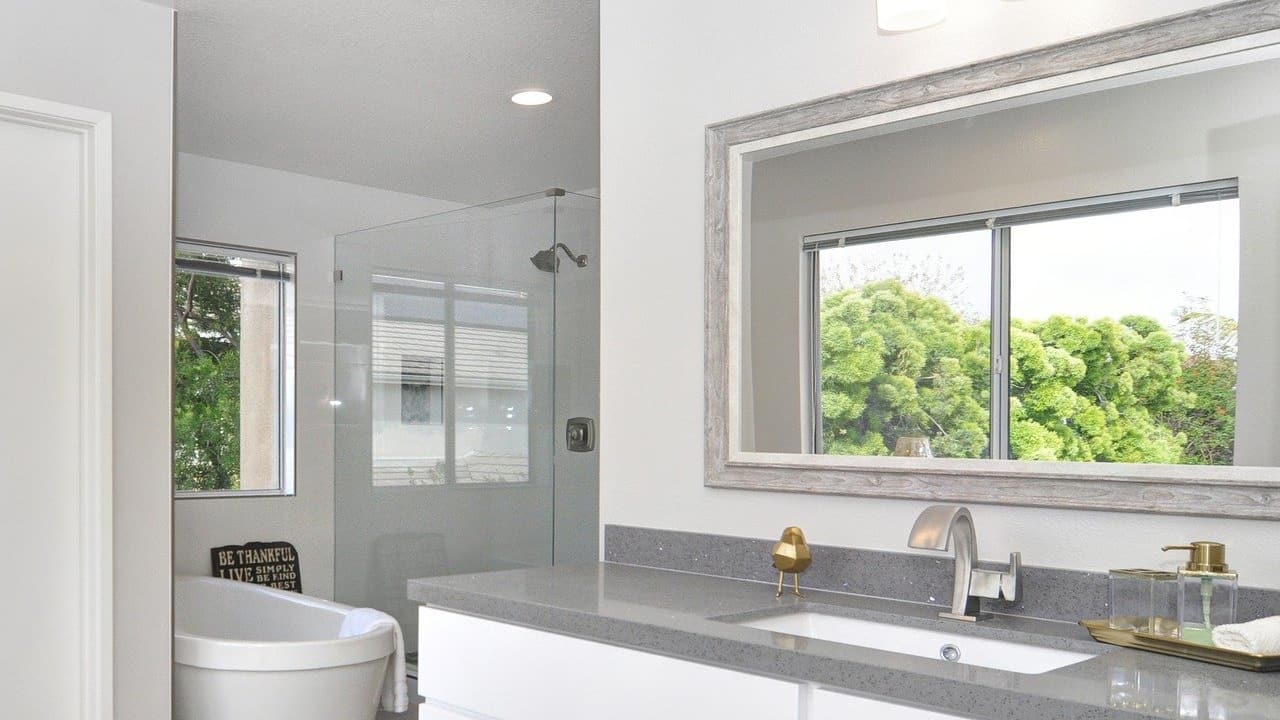
Are you looking for an easy and affordable way to update your bathroom? A Bathroom mirror trim kit might be just what you need. Instead of replacing your entire mirror, you can use a trim kit to give it a stylish and polished look. This simple DIY project can make a big difference in transforming your bathroom without spending a fortune. Here’s how to get started and make the most of your mirror trim kit.
Why Choose a Mirror Trim Kit?
Mirror trim kits are a fantastic option for anyone looking to upgrade their bathroom quickly and affordably. Here are a few reasons why they’re worth considering:
- Cost-Effective: Replacing a large bathroom mirror can be expensive. A trim kit allows you to achieve a fresh look for a fraction of the cost.
- Easy Installation: Mirror trim kits are designed with DIY enthusiasts in mind. You don’t need advanced tools or skills to install them.
- Customizable Styles: With a variety of colors, finishes, and designs available, you can choose a trim that matches your bathroom’s style.
- Minimal Mess: Unlike a full mirror replacement, installing a trim kit doesn’t require demolition or create a mess.
Steps to Update Your Bathroom Mirror
- Choose the Right Kit
Start by selecting a mirror trim kit that complements your bathroom’s décor. Consider the size of your mirror, the color of your walls, and the overall style of your space. Popular finishes include brushed nickel, white, and wood tones. Many kits are adjustable to fit mirrors of different sizes. - Clean the Mirror
Before you begin, clean your mirror thoroughly. Use a glass cleaner to remove any dust, grime, or smudges. This ensures the trim adheres properly and looks seamless once installed. Make sure the edges of the mirror are especially clean since this is where the trim will attach. - Prepare the Trim Pieces
Lay out the trim pieces and check the instructions included in your kit. Some kits come pre-cut, while others may require you to measure and trim them to fit your mirror’s dimensions. Use a tape measure for accurate sizing and a saw if trimming is needed. - Dry-Fit the Trim
Before attaching the trim permanently, do a dry fit. Place the pieces around the mirror to ensure everything aligns correctly. This step helps you make any adjustments before applying adhesive. - Attach the Trim
Most mirror trim kits use adhesive strips or glue for installation. Follow the instructions in your kit to apply the adhesive to the back of each trim piece. Press the trim firmly against the mirror, starting with the top and bottom pieces, then adding the sides. Use a level to ensure the trim is straight.
Conclusion
Updating your bathroom with a mirror trim kit is one of the easiest and most budget-friendly ways to refresh the space. With just a few tools and a bit of time, you can transform a plain mirror into a beautiful statement piece. Give it a try and see how this simple update can make a big impact on your bathroom’s overall look.
