

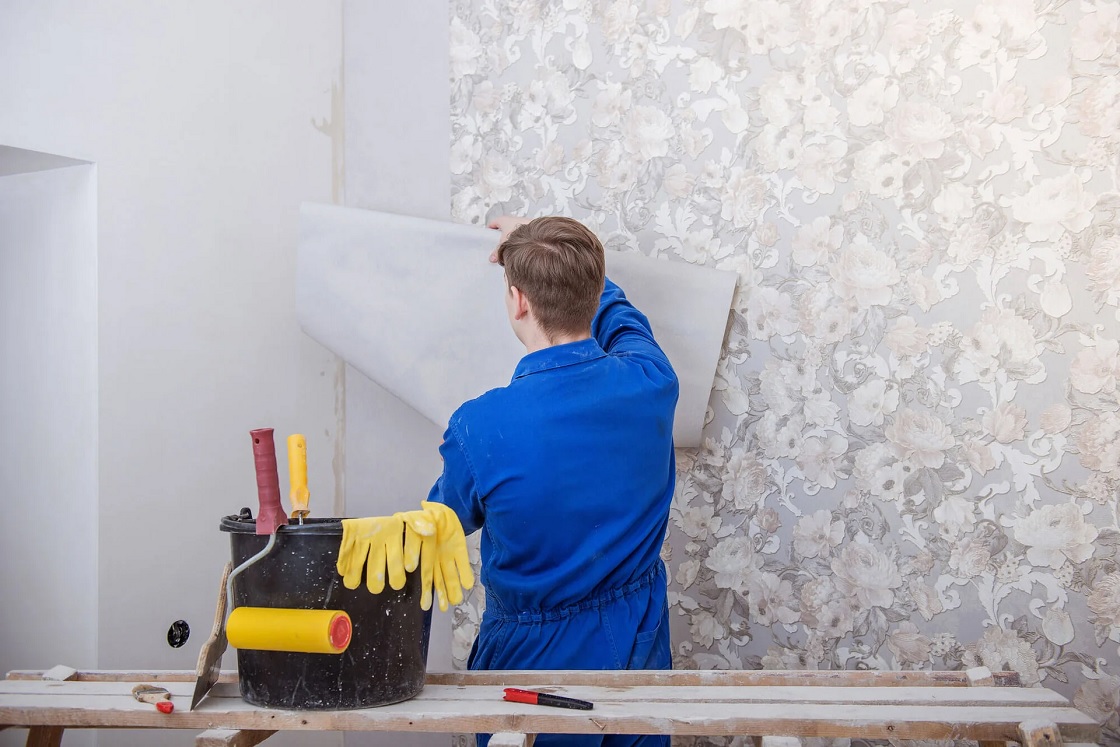
Cork wallpaper is an excellent choice for adding texture and warmth to your walls. It’s eco-friendly, durable, and can instantly transform a room with its unique look. While it may seem challenging to install cork wallpaper, it’s a project you can handle with a little preparation and patience. Follow this step-by-step guide and know how to install cork wallpaper like a pro.
Step 1: Gather Your Supplies
Before you start, make sure you have all the necessary tools and materials. Here’s what you’ll need:
- Cork wallpaper
- Wallpaper adhesive (specific to cork wallpaper)
- Measuring tape
- Utility knife or sharp scissors
- Smoothing tool or wallpaper brush
- Level or straight edge
- Sponge or damp cloth
- Bucket of clean water
- Ladder or step stool
Step 2: Prepare the Wall
Proper wall preparation is key to a smooth installation. Follow these steps:
- Clean the Wall: Remove any dust, grease, or dirt from the surface using a damp cloth or mild cleaner. Allow the wall to dry completely.
- Repair Imperfections: Fill in holes or cracks with spackling paste and sand them down until smooth.
- Prime the Wall: Apply a wallpaper primer to help the adhesive stick better and prevent the cork wallpaper from absorbing moisture.
Step 3: Measure and Cut the Wallpaper
- Measure the height of your wall and add an extra 2-3 inches to the length for trimming.
- Roll out the cork wallpaper and use a utility knife or sharp scissors to cut the first strip.
- If your wallpaper has a pattern, make sure to match the design before cutting additional strips.
Step 4: Apply the Adhesive
- Check the manufacturer’s instructions for the recommended adhesive.
- Use a brush or roller to apply the adhesive evenly to the back of the wallpaper. Alternatively, some cork wallpapers require adhesive to be applied directly to the wall.
- Let the adhesive sit for the recommended time (usually a few minutes) to activate.
Step 5: Hang the Wallpaper
- Start at the top of the wall and align the first strip with a straight edge or level to ensure it’s vertical.
- Gently press the wallpaper onto the wall, starting from the top and working your way down.
- Use a smoothing tool or wallpaper brush to remove air bubbles and ensure a firm bond.
- Trim any excess wallpaper at the top and bottom using a utility knife.
Step 6: Repeat the Process
- Align the next strip with the first, making sure to match any patterns.
- Repeat the steps of applying adhesive, hanging, smoothing, and trimming until all strips are installed.
Step 7: Clean Up and Finish
- Wipe away any excess adhesive with a damp sponge or cloth before it dries.
- Allow the wallpaper to dry completely, usually for 24-48 hours.
Tips for Success
- Work in a well-lit area to ensure proper alignment.
- Take your time to match patterns for a seamless look.
- If you’re new to wallpapering, start with a small wall or area to practice.
Wrapping up
Installing cork wallpaper can elevate the look of any room with its natural and stylish appeal. By following this step-by-step guide and taking your time, you can achieve professional results and enjoy the beauty of cork wallpaper in your space.
